Lightning Path in Salesforce – A Complete Guide
In Salesforce, Path is a Lightning Experience feature that helps guide users through a process — like qualifying leads, working opportunities, or closing cases — by visually representing the stages and offering key guidance at each step.
Think of it as a progress tracker + best practice checklist all rolled into one.
What is Lightning Path?
A Path appears at the top of record pages (in Lightning) as a series of stages or steps.
For example:
– In a Lead record, it might show New → Working → Nurturing → Qualified → Converted.
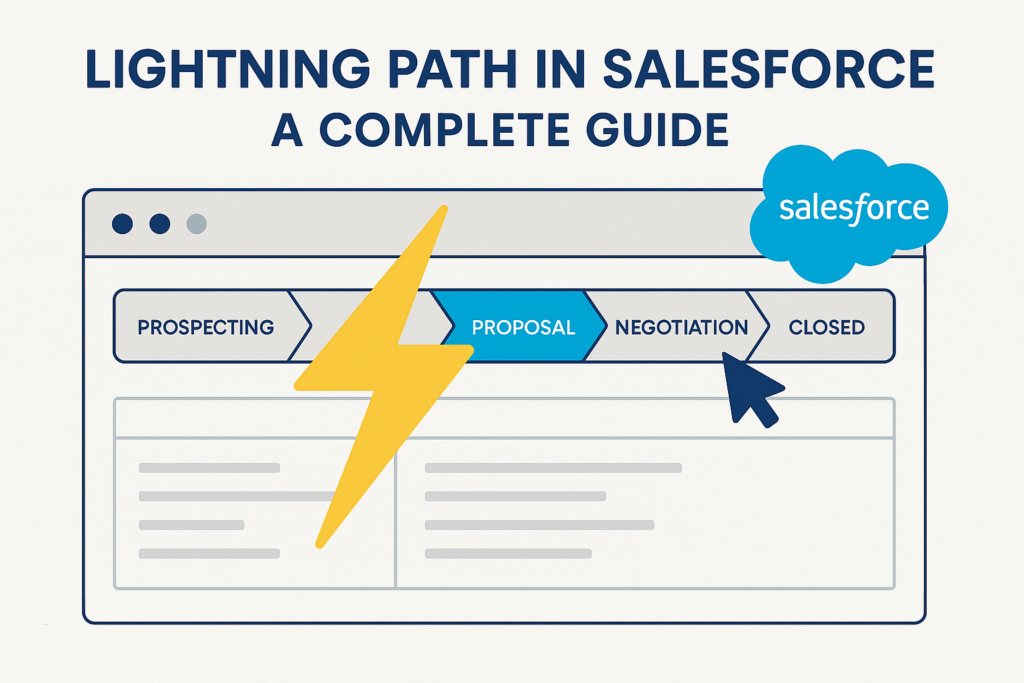
– In an Opportunity, it could be Prospecting → Qualification → Proposal → Negotiation → Closed Won/Lost.
Each step can:
– Highlight key fields to update.
– Show help text or coaching tips for sales reps.
– Display current progress visually.
Benefits of Using Path
- Visual Guidance – Easy to see where a record is in the process.
2. Best Practices at Each Stage – Add ‘Guidance for Success’ to coach users.
3. Data Completeness – Highlight key fields that should be filled before moving forward.
4. Better Adoption – Encourages consistent process usage across teams.
How to Create a Lightning Path in Salesforce
Here’s the step-by-step process:
Step 1 – Enable Path
- Go to Setup.
2. Search for Path Settings in the Quick Find box.
3. Click Enable if it’s not already enabled.
4. (Optional) Enable Celebration to show confetti when a record reaches a certain stage.
Step 2 – Create a New Path
- From Path Settings, click New Path.
2. Fill in:
– Path Name: e.g., Lead Qualification Path
– API Name (auto-generated)
– Object: Select the object (e.g., Lead, Opportunity, Custom Object)
– Picklist Field: Choose the picklist you want to display (e.g., Lead Status, Stage, etc.)
Step 3 – Configure Each Stage
For each value in your picklist:
1. Key Fields – Select up to 5 fields to highlight.
2. Guidance for Success – Add instructions, tips, or best practices.
Example for Qualification Stage:
– Key Fields: Company, Email, Lead Source
– Guidance: “Ensure the decision-maker’s contact is added and budget is confirmed.”
Step 4 – Activate the Path
- On the final screen, Enable the path.
2. Click Finish.
Step 5 – Add Path to Page Layout
Creating a Path doesn’t automatically show it on the record page.
To display it:
1. Open Lightning App Builder for the desired record page.
2. Drag the Path component onto the page (usually at the top).
3. Save & Activate the page.
Optional – Enable Celebrations
You can make the Path throw confetti when a user reaches a specific stage:
1. In Path Settings, edit your Path.
2. Under Set Celebration, choose a stage.
3. Select frequency: Always, Sometimes, or Rarely.
Best Practices for Path
– Keep Key Fields relevant and minimal.
– Use Guidance for Success for coaching, not policy dumping.
– Review periodically to keep steps aligned with business processes.
– Use Celebrations sparingly.
Example Use Case – Lead Management
Stages: New → Working → Nurturing → Qualified → Converted
Key Fields:
– New: First Name, Last Name, Company
– Working: Phone, Email, Lead Source
Guidance:
– Nurturing: “Add notes on conversations and schedule follow-up.”
– Qualified: “Ensure the opportunity is created and linked.”
Conclusion
Lightning Path is a simple yet powerful Salesforce feature for guiding users through processes with clarity and consistency. By combining visual cues, key fields, and coaching tips, Path ensures your team stays aligned and productive.