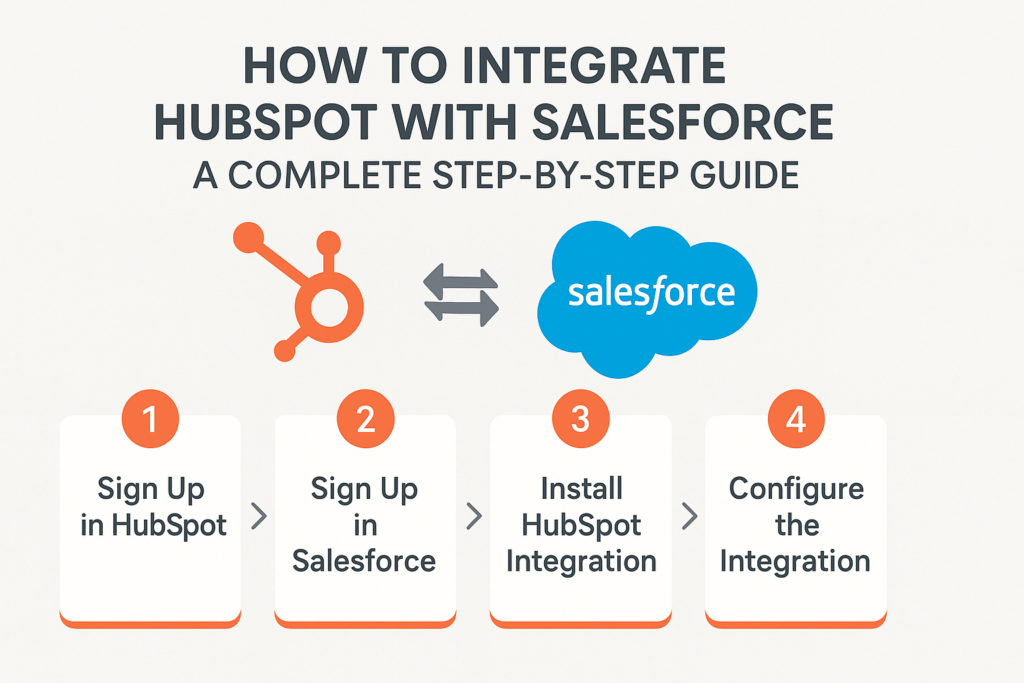
🚀 How to Integrate HubSpot with Salesforce: A Complete Step-by-Step Guide
Connecting HubSpot with Salesforce bridges the gap between your marketing and sales teams. It ensures that leads captured in HubSpot flow seamlessly into Salesforce for follow-up, tracking, and reporting — all while maintaining data consistency across both platforms.
In this guide, we’ll walk you through:
-
What the HubSpot-Salesforce integration is
-
How to set up the integration
-
How data sync works
-
How to create leads in HubSpot and view them in Salesforce
-
Best practices for managing synced data
🌐 1. What Is the HubSpot-Salesforce Integration?
HubSpot’s native Salesforce integration allows you to synchronize data between the two systems in real time. It connects HubSpot’s CRM and marketing automation tools with Salesforce’s sales and lead management capabilities.
🔄 What It Does:
-
Automatically syncs contacts, leads, accounts, and opportunities.
-
Keeps records updated in both systems (bi-directional sync).
-
Aligns marketing and sales data for unified reporting.
-
Automates lead handoff from HubSpot to Salesforce.
⚙️ 2. How to Integrate HubSpot with Salesforce
Step 1: Prerequisites
Before starting, ensure:
-
You have Administrator access in both HubSpot and Salesforce.
-
You have a Salesforce Enterprise, Performance, or Unlimited edition.
-
Your Salesforce account allows API access (required for syncing).
Step 2: Install the Integration
-
Log in to your HubSpot account.
-
Navigate to:
Settings → Integrations → Connected Apps → Salesforce. -
Click “Connect app”.
-
Log in with your Salesforce credentials and authorize HubSpot.
HubSpot will then install a managed package in Salesforce containing custom fields and settings needed for the sync.
Step 3: Configure the Integration
Once connected, you’ll configure how the data moves between systems.
a. Choose Which Objects to Sync
You can sync:
-
Leads
-
Contacts
-
Accounts
-
Opportunities (Deals)
b. Define Sync Direction
You can select:
-
Two-way sync: Updates in HubSpot and Salesforce reflect in both systems.
-
One-way sync: Data flows from one system to the other (e.g., HubSpot → Salesforce only).
c. Map Fields
Field mapping ensures that equivalent data fields in HubSpot and Salesforce align correctly.
Example:
| HubSpot Field | Salesforce Field |
|---|---|
| First Name | FirstName |
| Last Name | LastName |
| Company | Company |
| Phone | Phone |
You can also create custom field mappings if you’re using custom objects or fields.
Step 4: Set Sync Rules
You can define:
-
Which leads or contacts should sync (e.g., based on lifecycle stage).
-
Whether deleted records should be removed from the other system.
-
How duplicates are handled.
Step 5: Test and Activate
Before going live:
-
Sync a few sample contacts.
-
Confirm that they appear correctly in both HubSpot and Salesforce.
-
Review the integration status in HubSpot → Connected Apps → Salesforce to ensure all connections are healthy.
🔁 3. How Syncing Works
HubSpot → Salesforce
-
When a new contact fills out a form on your HubSpot website, HubSpot automatically creates a Contact record.
-
If you’ve set your integration to create Salesforce leads from new HubSpot contacts, a Lead record is created in Salesforce automatically.
-
Any updates to the contact in HubSpot (like email or phone number changes) will sync back to Salesforce.
Salesforce → HubSpot
-
If a sales rep updates the lead’s stage or status in Salesforce, those updates flow back to HubSpot.
-
This ensures marketing can see which leads are progressing and which need nurturing.
✍️ 4. How to Create Leads in HubSpot and View Them in Salesforce
Step 1: Capture a Lead in HubSpot
You can create leads in HubSpot using:
-
Web Forms: Add HubSpot forms to your landing pages. When a visitor submits, HubSpot automatically creates a new contact.
-
Manual Creation: Go to Contacts → Create Contact in HubSpot and enter the lead details.
-
Import: Upload a CSV file of leads directly into HubSpot.
Step 2: HubSpot Syncs the Lead to Salesforce
Once created, HubSpot sends the contact record to Salesforce via the integration. Depending on your configuration:
-
The HubSpot contact will create a Lead in Salesforce.
-
If the email already exists, it will update the existing record instead of creating a duplicate.
Step 3: View the Lead in Salesforce
In Salesforce:
-
Go to the Leads tab.
-
Search for the new record by name or email.
-
You’ll see a new lead created by “HubSpot Integration.”
-
The record will include:
-
Contact information (name, email, phone)
-
Source (e.g., “HubSpot Form Submission”)
-
Lead Owner (assigned by your Salesforce rules)
-
Any mapped fields (like campaign info or score)
-
🧠 5. Best Practices for Managing HubSpot-Salesforce Data
✅ Clean Data First:
Remove duplicates and standardize fields before syncing.
✅ Use Field Mapping Carefully:
Make sure every key field in Salesforce has a corresponding field in HubSpot.
✅ Test Before Production:
Start with a small data set to ensure everything syncs properly.
✅ Monitor Integration Logs:
Check HubSpot → Salesforce Integration Logs regularly for sync errors.
✅ Establish Ownership Rules:
Define who owns leads — marketing (HubSpot) or sales (Salesforce) — at each stage of the funnel.
🧩 6. Common Issues and Troubleshooting
| Issue | Possible Cause | Solution |
|---|---|---|
| Record not syncing | Missing required Salesforce fields | Map all required fields or make them optional |
| Duplicate records | No unique ID match | Use email address as the unique identifier |
| Validation rule errors | Salesforce field constraints | Adjust rules or create integration user bypass |
🚀 Conclusion
Integrating HubSpot with Salesforce allows your marketing and sales teams to work from a unified data source. Marketing can generate and nurture leads in HubSpot, while sales can instantly see and act on them in Salesforce — no manual import/export required.
With proper setup and maintenance, this integration ensures smoother collaboration, better lead management, and stronger data-driven decisions.