
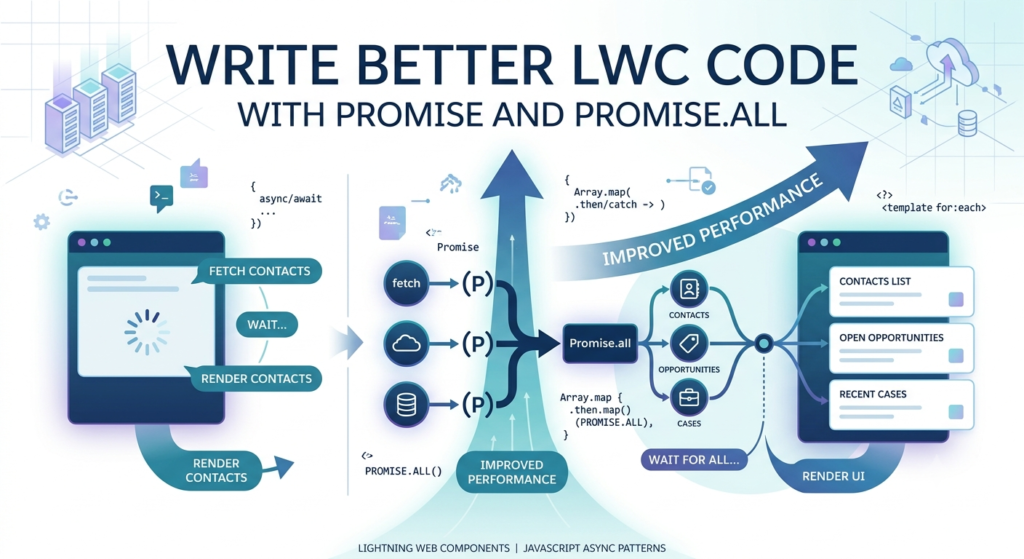
When you start learning Lightning Web Components (LWC), you usually begin by calling Apex methods and displaying data on the screen. At first, everything seems simple. But as your application grows, you may need to call multiple Apex methods, wait for responses, or perform several tasks one after another.
If you don’t handle these operations properly, your code can become difficult to read and maintain.
This is where Promise and Promise.all() help.
In this blog, we’ll understand what they are, why we use them, and how they make your LWC code cleaner and faster.
What is a Promise?
A Promise is a JavaScript object that represents the result of an operation that will finish in the future.
Think of it like ordering food online.
- You place your order.
- The restaurant starts preparing it.
- After some time, you receive your food.
While your food is being prepared, you don’t just stand and wait. You continue doing other things.
A Promise works in the same way. Your application keeps running while waiting for the result.
Promise States
Every Promise has three possible states.
1. Pending
The operation is still running.
Example:
An Apex method is fetching Account records.
Loading...2. Fulfilled
The operation completed successfully.
Accounts Loaded Successfully3. Rejected
Something went wrong.
Unable to fetch AccountsWhy Should We Use Promises?
Without Promises, handling asynchronous operations becomes difficult.
Using Promises gives you several benefits.
- Cleaner code
- Better error handling
- Easy to understand
- Easy to maintain
- Better user experience
Calling Apex Using Promise
Suppose we have an Apex method.
@AuraEnabled(cacheable=true)
public static List<Account> getAccounts(){
    return [SELECT Id, Name FROM Account LIMIT 10];
}
Now call it inside LWC.
import getAccounts from '@salesforce/apex/AccountController.getAccounts';

getAccounts()
.then(result => {
    console.log(result);
})
.catch(error => {
    console.error(error);
});
Here,
- then() runs when the Apex method succeeds.
- catch() runs if something goes wrong.
This is the basic use of a Promise.
Real-Life Example
Imagine you’re applying for a passport.
You submit your documents.
Now there are only two possibilities.
- Passport Approved
- Passport Rejected
You don’t know the result immediately.
A Promise behaves exactly like this.
What is Promise.all()?
Sometimes one Apex method is not enough.
Suppose your page needs
- Account Details
- Contact Details
- Opportunity Details
Instead of waiting for each one separately, you can load all of them together.
That’s where Promise.all() comes in.
It runs multiple Promises at the same time and waits until every one of them finishes.
Example
Promise.all([
    getAccounts(),
    getContacts(),
    getOpportunities()
])
.then(results => {

    const accounts = results[0];
    const contacts = results[1];
    const opportunities = results[2];

    console.log(accounts);
    console.log(contacts);
    console.log(opportunities);

})
.catch(error => {
    console.error(error);
});
Here,
- All Apex methods start together.
- The page waits for every response.
- Once all are completed, the then() block executes.
Why is Promise.all() Faster?
Imagine you need three reports.
Without Promise.all()
Get Accounts
      ↓
Get Contacts
      ↓
Get Opportunities
Each request waits for the previous one.
Total Time
2 sec + 2 sec + 2 sec = 6 secWith Promise.all()
Accounts
Contacts
Opportunities
      ↓
Run Together
All requests run at the same time.
Total Time
Around 2 secondsThis makes your application faster.
When Should You Use Promise.all()?
Use it when
- Multiple Apex methods are independent.
- One result does not depend on another.
- You want to improve page performance.
- You want to reduce loading time.
When Should You NOT Use Promise.all()?
Don’t use it if one operation depends on another.
For example,
Create Account

↓

Get Account Id

↓

Create Contact
Here, Contact cannot be created until the Account exists.
In this situation, call the methods one after another instead of using Promise.all().
Error Handling
Always use catch() to handle errors.
getAccounts()
.then(result => {

    console.log(result);

})
.catch(error => {

    console.log(error.body.message);

});
Showing a proper error message helps users understand what went wrong.
Best Practices
Here are a few tips that make your code better.
✅ Always use catch()
✅ Use Promise.all() only when tasks are independent.
✅ Keep your then() blocks small and simple.
✅ Display a loading spinner while waiting.
✅ Show meaningful error messages.Set featured image
✅ Write reusable Apex methods.
Common Mistakes
Many beginners make these mistakes.
❌ Nesting multiple then() blocks unnecessarily.
❌ Ignoring catch().
❌ Calling independent Apex methods one after another.
❌ Writing long callback chains.
❌ Not handling loading states.
Avoiding these mistakes will make your code cleaner and easier to maintain.
Promise vs Promise.all()
| Promise | Promise.all() |
|---|---|
| Executes one asynchronous task | Executes multiple asynchronous tasks |
| Waits for one result | Waits for all results |
| Good for single Apex call | Good for multiple Apex calls |
| Simple to use | Improves performance when tasks are independent |
Final Thoughts
Promises are one of the most useful JavaScript features in Lightning Web Components. They help you write code that is cleaner, easier to understand, and easier to maintain.
When your component needs only one Apex call, a simple Promise is enough.
When you need multiple independent Apex calls, Promise.all() can save time by running them together, making your application faster and improving the user experience.
If you’re new to LWC, start using Promises in your projects. As you build more components, you’ll notice how much easier it becomes to manage asynchronous operations and keep your code organized.
Happy coding!