Build an Enhanced Einstein Bot in Salesforce: Guide for Case Creation, Case Status Check & Agent Transfer
Salesforce’s Enhanced Einstein Bots allow companies to automate common support tasks like creating cases, checking their status, and transferring chats to live agents — all without writing a single line of code.
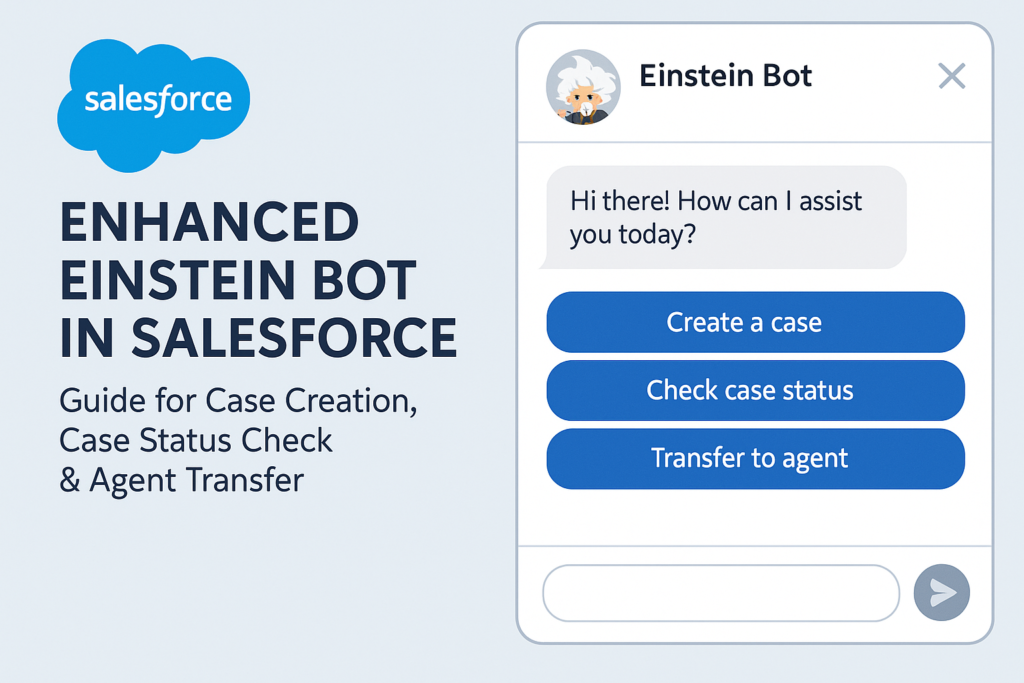
In this blog, we’ll walk you through a solution to:
· Create a Case using a bot
· Check the status of an existing Case
· Transfer the conversation to a human agent when needed
—
Prerequisites
Ensure the following are enabled/configured:
1. Einstein Bots enabled in your org.
2. Messaging or Chat channel configured (Web/In-App or Embedded Chat).
3. Omni-Channel and Service Console set up.
4. Case Object and fields ready for data input.
5. Enhanced Bot Version (introduced in Spring ’23 or later).
—
Step-by-Step Guide
Step 1: Enable Einstein Bots
1. Go to Setup → Search Einstein Bots.
2. Click Enable.
3. Choose Enhanced Bot version (recommended).
4. Click New Bot:
o Name: Support Assistant
o Language: English
o Template: Start from Scratch
—
Step 2: Set Up Dialogs
Dialog 1: Create a Case
1. Go to your bot → Dialogs → Click New Dialog
2. Name: Create Case
3. Step 1: Collect Inputs (Slot Group)
o Add slots for:
§ Subject → Text
§ Description → Text
§ Email → Text (optional)
o Each slot auto-creates a variable.
4. Step 2: Launch Flow
o Create a Flow: CreateCaseBotFlow (or use Standard Flow created by bot)
o Input variables:
§ Subject, Description, Email
o Action: Create Record → Object: Case
o Output: Return Case Number or Id
5. Back in dialog → Choose Launch Flow → Select CreateCaseBotFlow
6. Step 3: Message
o “Thanks! Your case has been created with Case Number: {!CaseNumber}”
—
Dialog 2: Check Case Status
1. New Dialog → Name: Check Case Status
2. Step 1: Ask for Case Number
o Create slot: CaseNumber__c (Text)
3. Step 2: Launch Flow → CheckCaseStatusFlow
o Input: CaseNumber__c
o Flow logic:
§ Get Records from Case where CaseNumber = input
§ Decision: If case found
§ Send Response: Return status field like Status, Subject
4. Step 3: Message:
o If found: “Your case status is {!Status} and subject is {!Subject}”
o If not found: “We couldn’t find a case with that number.”
—
Dialog 3: Transfer to Agent
1. New Dialog → Name: Transfer to Agent
2. Step 1: Add Step → Transfer to Agent
o Optionally: Pre-check customer intent using slot or menu
3. Done! The bot will now hand over the chat to an agent if available.
—
Step 3: Add Menu (Optional but Recommended)
1. Go to Dialogs → Main Menu dialog
2. Edit steps:
o Step 1: Send Message – “What would you like to do?”
o Step 2: Add Menu Options:
§ Create Case → Call Create Case dialog
§ Check Case Status → Call Check Case Status
§ Talk to Agent → Call Transfer to Agent
—
Step 4: Integrate with Chat or Messaging Channel
1. Go to Embedded Service Deployments (for Web)
2. Create a new Deployment (if not already done)
3. Map the Einstein Bot you created to the Embedded Chat configuration
4. Copy & paste the generated code into your website’s <body> tag
5. OR configure In-App Messaging via Salesforce Mobile SDK
—
Step 5: Test the Bot
· Open your Chat Widget or Messaging App
· Try each option:
o Create a new case
o Use the Case Number to check status
o Talk to agent
—
Final Words
Enhanced Einstein Bots are the future of customer support automation. With zero code, you can provide self-service, reduce agent load, and improve customer satisfaction. Whether you’re a Salesforce admin or a no-code consultant — this solution is powerful, scalable, and easy to maintain.
—