Harnessing Salesforce Web-to-Lead Forms to Supercharge Your Lead Generation
Salesforce is a powerhouse when it comes to managing customer relationships, but its capabilities extend far beyond just storing contact information and tracking deals. One of its most underused, yet powerful features is the Web-to-Lead form—a simple, effective tool that helps businesses capture leads directly from their websites and automatically funnel them into their Salesforce CRM.
In this blog post, we’ll explore what a Web-to-Lead form is, how it works, and how you can set one up in just a few steps.
🔍 What is a Web-to-Lead Form?
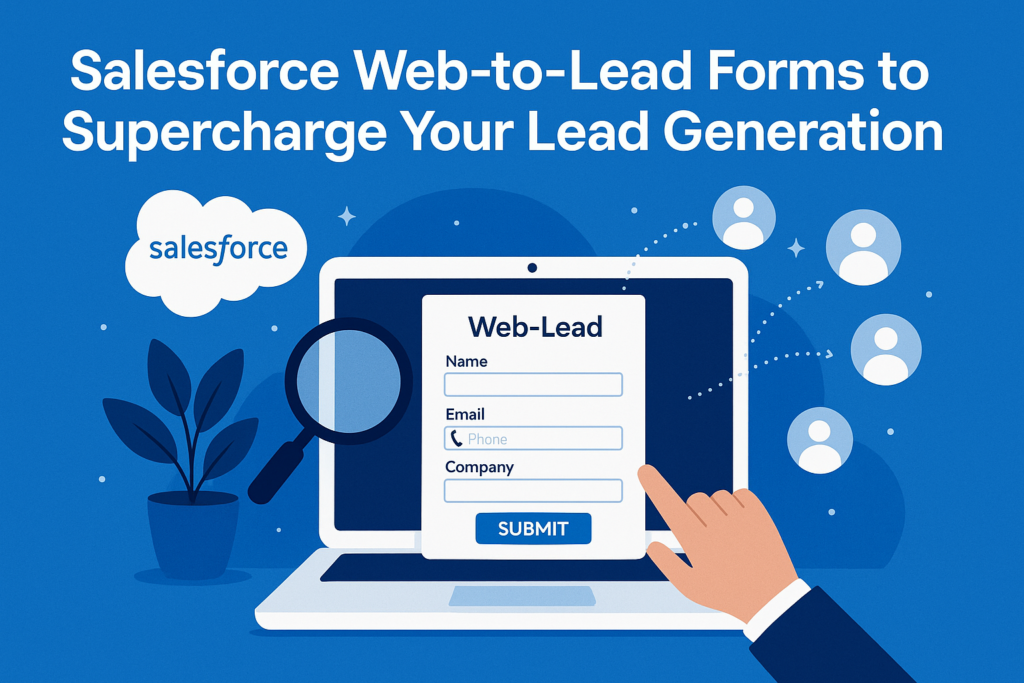
A Web-to-Lead form allows you to capture lead information from your website visitors and automatically create new lead records in Salesforce. Think of it as a digital bridge between your marketing site and your CRM.
When a user fills out a form on your website (such as a contact form or demo request), their information is sent to Salesforce and stored in the Lead object. This seamless process enables real-time lead capture, reducing manual data entry and accelerating your sales cycle.
✅ Why Use Web-to-Lead?
Here are some key benefits:
- Automation: Automatically create leads in Salesforce without human intervention.
- Efficiency: Sales teams can act on new leads as soon as they are submitted.
- Customization: You can choose which fields appear in the form.
- Integration: Tie Web-to-Lead with workflows, assignment rules, or auto-response rules.
🛠️ How to Set Up a Web-to-Lead Form in Salesforce
Here’s a step-by-step guide:
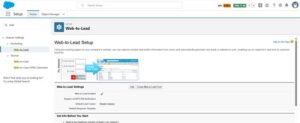
- Navigate to Web-to-Lead Setup
- Go to Setup in Salesforce.
- Search for Web-to-Lead in the Quick Find box.
- Click Web-to-Lead under Marketing.
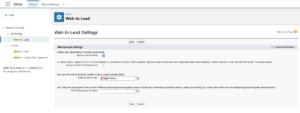
- Enable Web-to-Lead
If not already enabled, click Edit, then check the box to enable Web-to-Lead, and click Save.
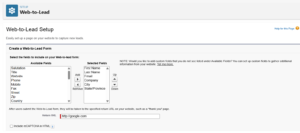
- Create Your Form
- Click the Create Web-to-Lead Form button.
- Select the fields you want to include on the form (e.g., Name, Email, Company).
- Optionally, set a Return URL (the page users are redirected to after submitting the form).
- Click Generate.
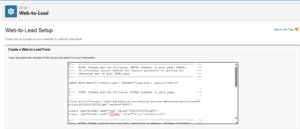
Salesforce will provide you with a block of HTML code that you can embed on your website.
- Embed the Form on Your Website
- Copy the generated HTML.
- Paste it into the HTML source of the page on your website where you want the form to appear.
- Publish the page.
That’s it! Your website is now integrated with Salesforce.
💡 Pro Tips
- Spam Prevention: Use CAPTCHA or hidden honeypot fields to prevent spam submissions.
- Lead Assignment: Use Lead Assignment Rules to automatically route leads to the right sales reps.
- Auto-Response: Set up Auto-Response Rules to acknowledge form submissions with an email.
- Validation: You can use JavaScript or back-end logic to validate input before submission.
🔐 Security Considerations
- Avoid including sensitive data in the form.
- Use HTTPS for your form page to secure data in transit.
- Consider server-side validation for more control over data integrity.
🧩 Limitations
- Maximum of 500 leads per day via Web-to-Lead.
- Limited formatting/styling unless you customize the HTML.
- No built-in CAPTCHA (you’ll need to implement this manually or with third-party tools).
🚀 Beyond Web-to-Lead
For more advanced integrations, such as multi-object forms, file uploads, or richer styling, consider using:
- Salesforce Experience Cloud
- Marketing Cloud Forms
- Third-party form builders with Salesforce integration (e.g., FormAssembly, JotForm)
Final Thoughts
Salesforce Web-to-Lead forms are a fast and effective way to convert website visitors into leads in your CRM. While they are simple, their real power lies in how well they integrate with the rest of your Salesforce automation.